Top Mistakes to Avoid When Installing an Artificial Grass Putting Green
Introduction
For many golf enthusiasts, constructing your own Artificial Grass Putting Green in your backyard is a dream come true. It provides plenty of practice throughout the year, a beautiful yard upgrade, and increased value to your home. However, it is very important to install it correctly and in a way that will function properly, but also stand the test of time and keep its fresh look. In this blog by Pave N Turf, we will take a deep dive into the common mistakes people make when installing an artificial grass putting green, and how to avoid making those mistakes!
Why Go for an Artificial Grass Putting Green?
Before we jump into mistakes, it’s important to understand why this option is booming in popularity:
- Low Maintenance: No watering, mowing, or fertilizing.
- Year-Round Use: Perfect conditions in all weather.
- Custom Design: Tailor slopes, cups, and contours to your skill level.
- Eco-Friendly: No chemicals or excessive water usage.
Still, these advantages mean little if your installation is flawed.
Common Mistakes to Avoid
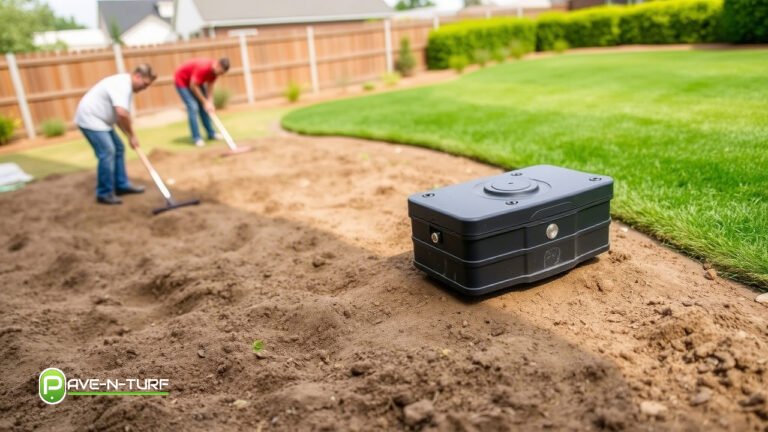
Mistake 1 – Skipping Site Preparation
One of the biggest issues is skipping proper groundwork. The surface needs to be leveled, compacted, and cleared of all debris before installation. A bumpy or uneven base will affect ball roll and can lead to wrinkles in your pave grass.
Mistake 2 – Choosing the Wrong Turf Type
Not all turf is made equal. Using standard landscape turf instead of specialized Artificial Grass Putting Green turf leads to poor playability. Putting green turf is shorter and denser, designed specifically for golf balls to roll true.
Mistake 3 – Ignoring Drainage
Water pooling can affect not only the aesthetics of your green but also how well it works. Many homeowners forget to incorporate a base layer of crushed stone or a drainage pipe to their Pave Grass. When we do not have these options,
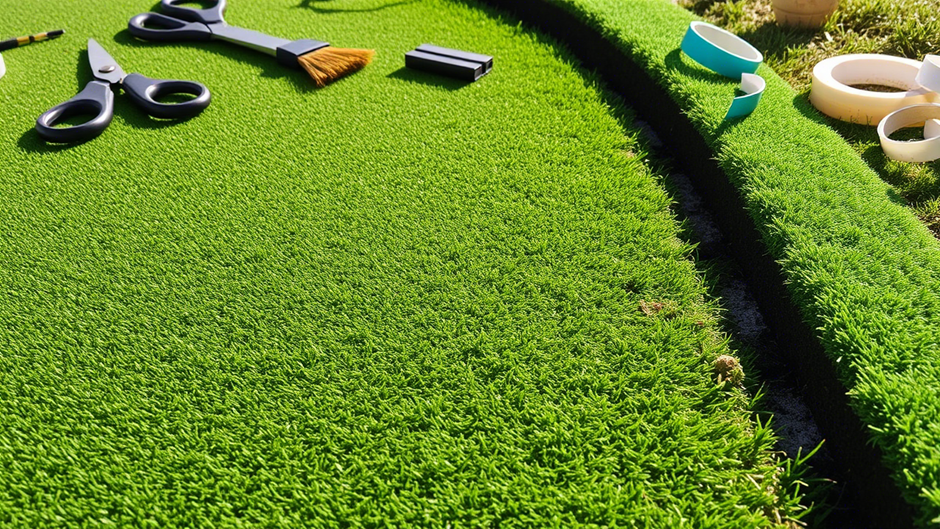
Mistake 4 – Poor Seam Work
If you’re installing multiple rolls of turf, poor seam joining is a dead giveaway of amateur work. Visible lines or gaps not only look bad but can affect play and cause wear.
Mistake 5 – Inadequate Cup Installation
Improper hole placement and poor cup anchoring make the game frustrating. The cups need to be level with the Pave Grass and secured tightly to ensure a clean finish.
Mistake 6 – Skipping the Infill Layer
Infill supports and reinforces the upright position of turf blades, and adds weight for durability. If there is no infill, your Artificial Grass Putting Green could look flat, and wear out faster. Silica sand is typically the infill of choice for putting greens.
Mistake 7 – Going Too DIY Without Research
Installing a putting green might look easy online, but there’s more to it. Going DIY without proper planning or tutorials often results in rework or additional expenses.
Adding Lighting to Your Artificial Grass Putting Green
If you’re looking to make the most out of your investment, consider installing outdoor lighting around your Artificial Grass Putting Green. It not only enhances the beauty of your space but also extends playtime into the evening hours.
Lighting Matters
Strategically placed LED lights or solar garden lights allow for nighttime practice and create a cozy ambiance. Whether you’re entertaining guests or getting in a few extra strokes after work, good lighting adds a layer of sophistication and usability.
Best Lighting Options
- Low-voltage landscape lighting: These are energy-efficient and safe to install around the perimeter.
- Spotlights: Highlight key features like sand bunkers, water elements, or paved edges.
- Motion sensor lights: Great for safety and convenience, especially in larger yards.
A well-lit putting green isn’t just a visual upgrade it also increases the value of your home and maximizes your usage of the green, no matter the time of day.
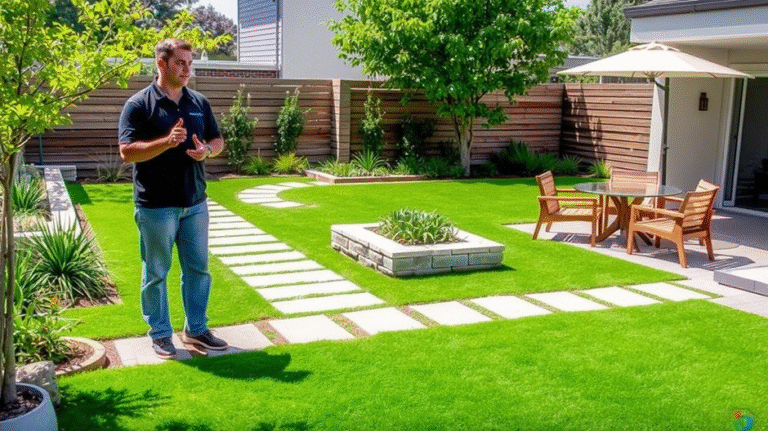
Expert Tips for the Perfect Installation
- Consult a Pro: Companies like Pave and Turf specialize in precision installs.
- Use Quality Materials: Invest in UV-resistant turf with a solid backing.
- Map Your Design: Plan out slopes, breaks, and fringe turf in advance.
- Test the Roll: After laying the turf, test the ball roll and adjust where necessary.
- Secure the Edges: Use nails or adhesive to prevent turf from lifting over time.
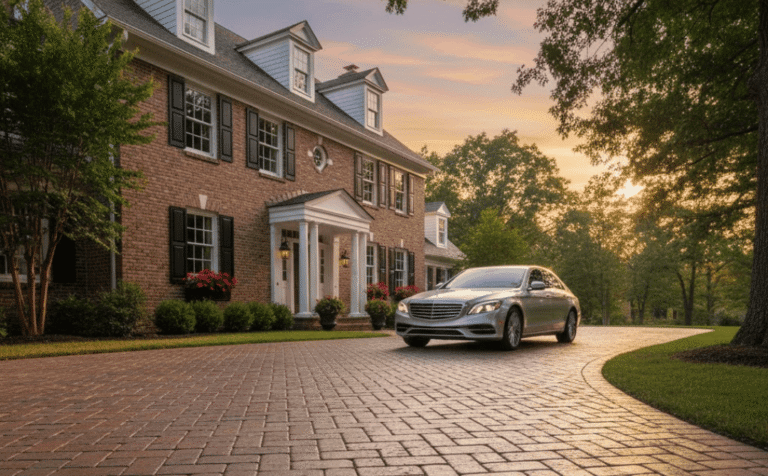
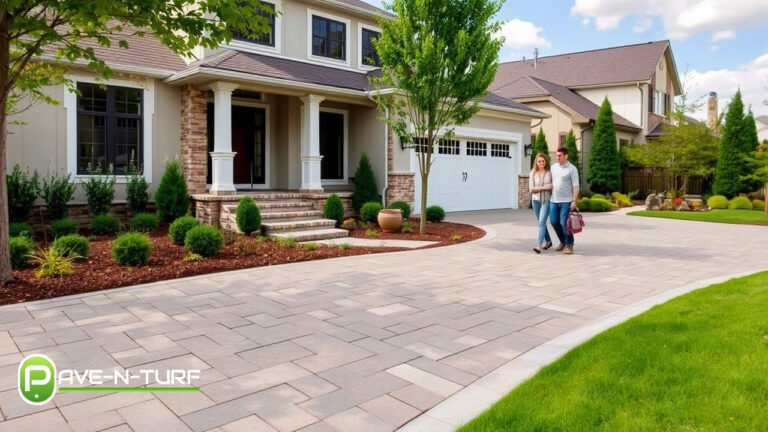
Enhancing Your Green with Pavers
Incorporating concrete perimeter features such as stone borders or paved paths or edging can add both the beauty and functionality of your green. It delineates in your backyard where your putting green begins and ends while contributing to the design as a whole.
Conclusion
Installing an Artificial Grass Putting Green can turn your outdoor living space into a golfer’s dream but only if it’s done right. Avoid the mistakes above and follow some professional tips and you’ll have a playable, beautiful green that will last for years.
Towards the end of your project don’t forget to leverage the professional help available. At Pave And Turf we provide you with all the guidance you may need but we also provide quality services such as pave grass enhancements to complete turn your green into a complete backyard oasis. Whether you’re playing practice rounds or hosting friends and family a well-installed putting green can be the difference.
FAQ Section For Artificial Grass Putting Green
Q1: How much space do I need for an Artificial Grass Putting Green?
A: You can build a basic putting green in as little as 200 sq ft, but having more space gives you the flexibility to design custom contours, add multiple holes, and simulate a more realistic golf experience in your own backyard.
Q2: Is maintenance really that low?
A: Yes! Maintenance for an artificial grass putting green is minimal. Occasional brushing to keep the fibers upright and rinsing off debris or dirt will help your green look sharp and perform well year-round.
Q3: Can I add real sand bunkers or water hazards?
A: Absolutely. Many homeowners opt to enhance their putting green with real sand traps, decorative water features, or stone edging. These elements not only boost realism but also increase your practice options and add aesthetic value.
Q4: How long will my putting green last?
A: With proper base preparation, professional installation, and regular upkeep, a high-quality artificial grass putting green can easily last up to 15 years or more, making it a great long-term investment for golf enthusiasts.