How to Lay Pavers on Grass: A Clear, Step-by-Step Guide

Laying pavers on grass can be a relatively simple and cost-effective way to create a new patio or walkway in your garden or outdoor space. With a little planning and the right tools, it’s a DIY project that even beginners can tackle successfully. This process allows homeowners to enjoy beautiful landscaping and expand their usable outdoor space, all while adding value to their property.
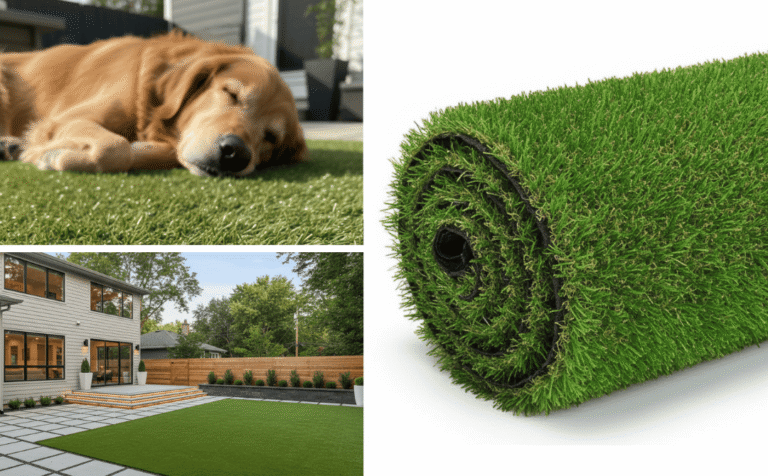
To start, it is essential to choose the right type of paver for your specific needs, such as natural stone, concrete, or clay. Each option offers its unique characteristics, benefits, and aesthetic appeal. Once you have selected the pavers, it’s time to prepare the area by ensuring that the grass is level, well-drained, and free of large stones or debris.
After preparing the area, laying pavers on grass involves several key steps. These include setting the pavers in place, securing them with a suitable edging material, and filling in the gaps with sand or soil. By following this process carefully, you can create a durable and attractive surface that complements your overall garden design and enhances your outdoor living experience.
Preparing the Area
Before laying pavers on grass, it’s crucial to properly prepare the area to ensure a stable, level, and weed-free surface. This section will guide you through the process, focusing on three key steps: marking the area, excavating the grass, and creating a solid base.
Mark the Area
The first step in preparing the area is to mark the perimeter of where you plan to lay the pavers. To do this:
- Measure the desired area for the pavers, taking into account any necessary buffer zones or edge expansions.
- Use stakes or marking spray to clearly outline the area.
- Double-check all measurements and make any necessary adjustments to ensure proper placement.
Excavate the Grass
Once the area is marked, the next step is to remove the grass and any existing vegetation within the boundaries:
- Using a flat shovel, carefully cut the grass within the marked area into manageable sections.
- Carefully remove the sections of grass and set them aside for disposal or reuse elsewhere in your landscape.
- Dig down to a depth of about 6-8 inches, ensuring the excavated area is even and debris-free.
- Rake the soil to create a smooth and level surface, removing any rocks or roots that could interfere with the stability of the pavers.
Create a Solid Base
After the grass has been excavated, it’s time to create a solid base for the pavers. This will help to stabilize the area and prevent unevenness over time. To do this:
- Install edging around the perimeter of the excavated area to help contain the base materials and provide a finished look.
- Lay a layer of landscaping fabric or a weed barrier over the soil to inhibit weed growth and facilitate proper drainage.
- Apply a 4-inch layer of gravel over the weed barrier or landscaping fabric, using a rake to spread it evenly.
- Tamp down the gravel with a tamper or plate compactor to create a stable and compact base.
- Add a 1-2 inch layer of coarse sand on top of the gravel, spreading it evenly with a rake to create a smooth, level surface.
- Use a long level or a straight edge to check and adjust the surface level, ensuring an even base for the pavers.
By carefully following these steps, you will have created a solid foundation for laying your pavers on grass, ensuring a stable and long-lasting installation.
Laying the Pavers
Arrange the Pavers
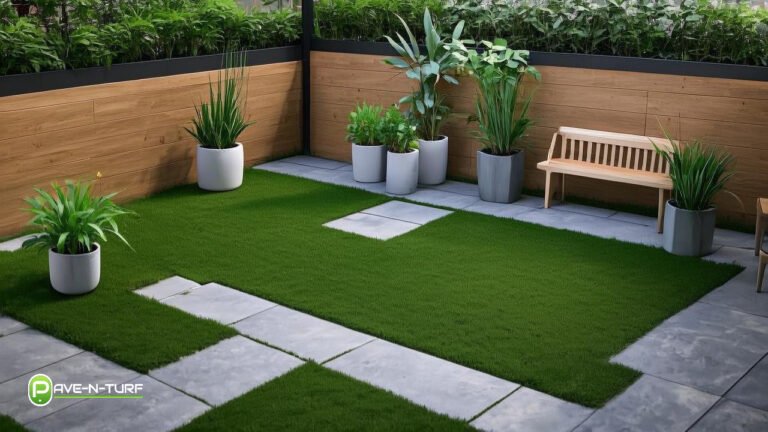
Begin by laying out the pavers in your desired pattern, ensuring you maintain proper spacing between each paver. Use a measuring tape to help keep the pavers equidistant from one another and a level to ensure they sit flush on the grass. String can also be used as a guide to maintain straight lines.
During installation, it’s useful to keep these tips in mind:
- Experiment with different patterns before committing to a layout
- Patio pavers and walkway patterns are often designed to work best in specific situations. Research your chosen paver type to be sure it’s compatible with your intended use.
Cutting and Fitting Pavers
If you need to cut pavers to fit your design, use a trowel or other appropriate cutting tool. It is essential to take accurate measurements to ensure a proper fit. The steps for cutting and fitting pavers are as follows:
- Measure the adjustments needed for the paver using a measuring tape
- Mark the cutting lines with a chalk or pencil
- Use a trowel or cutting tool to cut the paver along the marked lines
- Smooth out any rough edges with sandpaper or a suitable tool
For a safe and effective cutting process, consider wearing gloves and safety goggles.
Fill the Gaps
After all the pavers are laid out, it’s time to fill the gaps between them. The two most common methods for this stage include using sand or a mix of cement and mortar.
For a sand-filled gap, follow these steps:
- Pour a generous amount of sand onto the pavers
- Use a broom to spread the sand evenly, ensuring the gaps are filled
- Tap each paver gently with a rubber mallet to help the sand settle
- Add more sand as needed and use a hand tamper to compact it further
Alternatively, you can use a cement-mortar mix to fill the gaps:
- Prepare the cement-mortar mix according to the manufacturer’s instructions
- Apply a layer of the mix to the gaps using a trowel or other suitable tool
- Smooth the mix in the gaps to create a level surface
- Remove excess mortar from the paver surface, taking care not to damage the edges
It is essential to ensure the gaps are filled evenly and compactly to maintain the stability and longevity of your paver installation. If you’re looking for added durability and protection, consider using polymeric sand for the gaps. This option helps prevent weed growth and provides a stronger bond compared to regular sand.
Finishing Touches
Secure the Edges
To ensure a durable and minimal maintenance installation, it’s essential to secure the edges of your pavers. Start by installing paver edging around the perimeter of your paved area. Select an appropriate edging material and follow the manufacturer’s instructions for installation.
After installing the edging, you may need to fill any gaps between your pavers and the edge. Use a mixture of sand and polymeric sand to fill these gaps and create a stable, even surface. Spread the sand mixture evenly over the gaps using a rake or tamping tool, then compact the mixture using a broom or tamper.
Final Compaction and Cleaning
Before calling your project complete, it’s important to perform a final compaction and cleaning of the entire area. Start by using a tamping tool to compact the soil around your pavers thoroughly. This will help hold everything in place and provide a stable surface for your pavers.
Next, you’ll want to clean your pavers. Make sure you gather any debris and dispose of it properly. After gathering and removing debris, use a broom to sweep the entire surface. Be sure to brush the sand mixture into the joints between the pavers to provide additional stability and to prevent weeds from growing.
Finally, apply another layer of polymeric sand over the pavers and sweep it into the joints. This sand will help bind the pavers together and create a more professional, finished appearance. After sweeping in the polymeric sand, use a garden hose to gently mist the area, which will help the sand to set and harden.
By following these steps, you’ll have a well-installed, attractive, and long-lasting paver surface perfect for your outdoor space.