How to Install Artificial Turf: A Comprehensive Guide
Installing artificial turf for your home can transform your outdoor space into a beautiful, low-maintenance area, perfect for relaxation, play, and entertainment. Whether you’re adding a sports field turf, playground turf, or even dog park turf, it’s important to know how to properly install it for the best results. This guide will walk you through the process step-by-step to help you achieve a professional finish.
Benefits of Installing Artificial Turf
Before diving into the installation, let’s explore some benefits of commercial synthetic turf. First, it reduces water consumption, as artificial grass doesn’t need watering like natural grass. This can be a huge cost-saver in areas where water is scarce or expensive. Additionally, premium synthetic grass requires little to no maintenance—no mowing, fertilizing, or weeding is necessary.
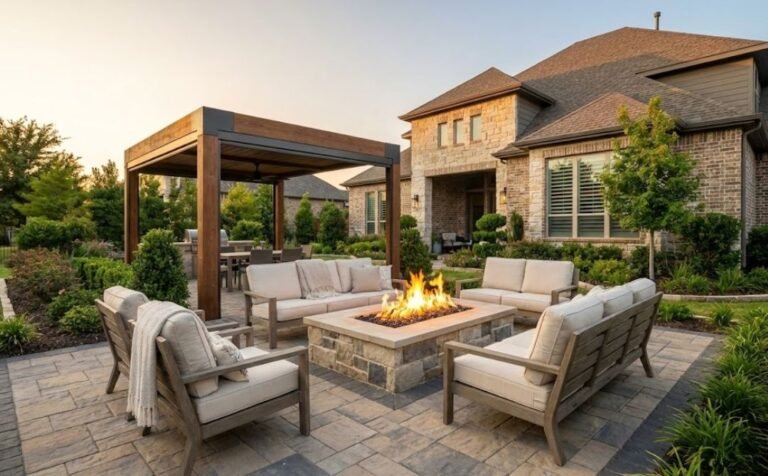
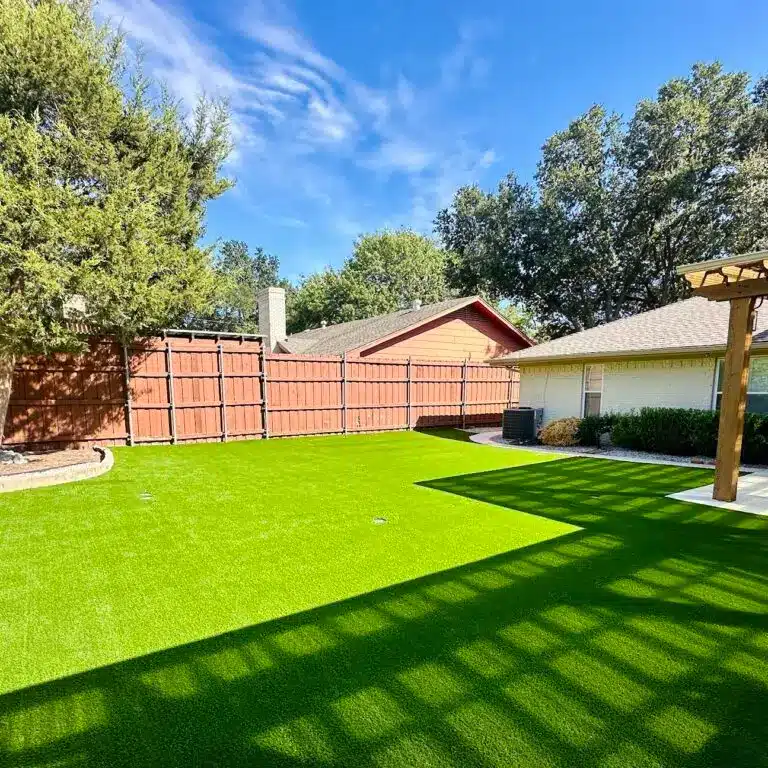
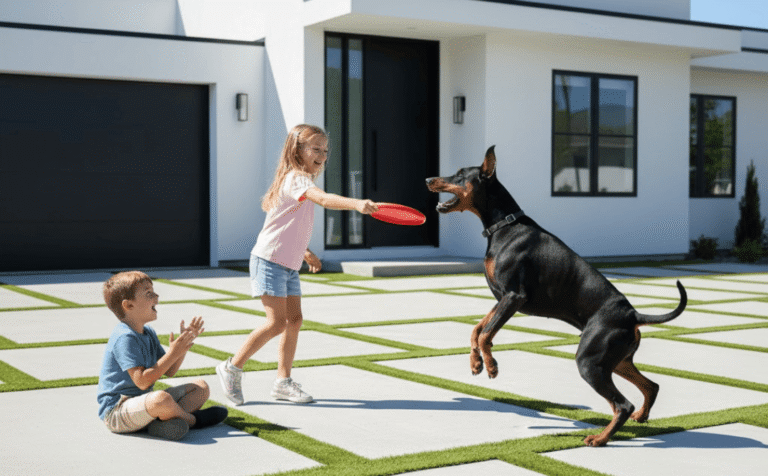
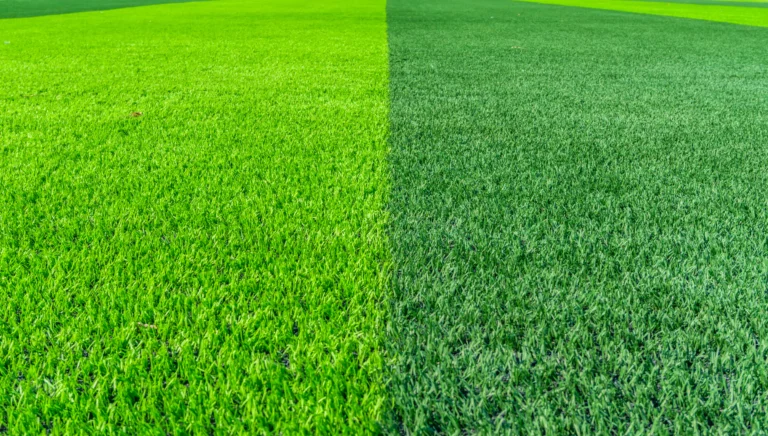
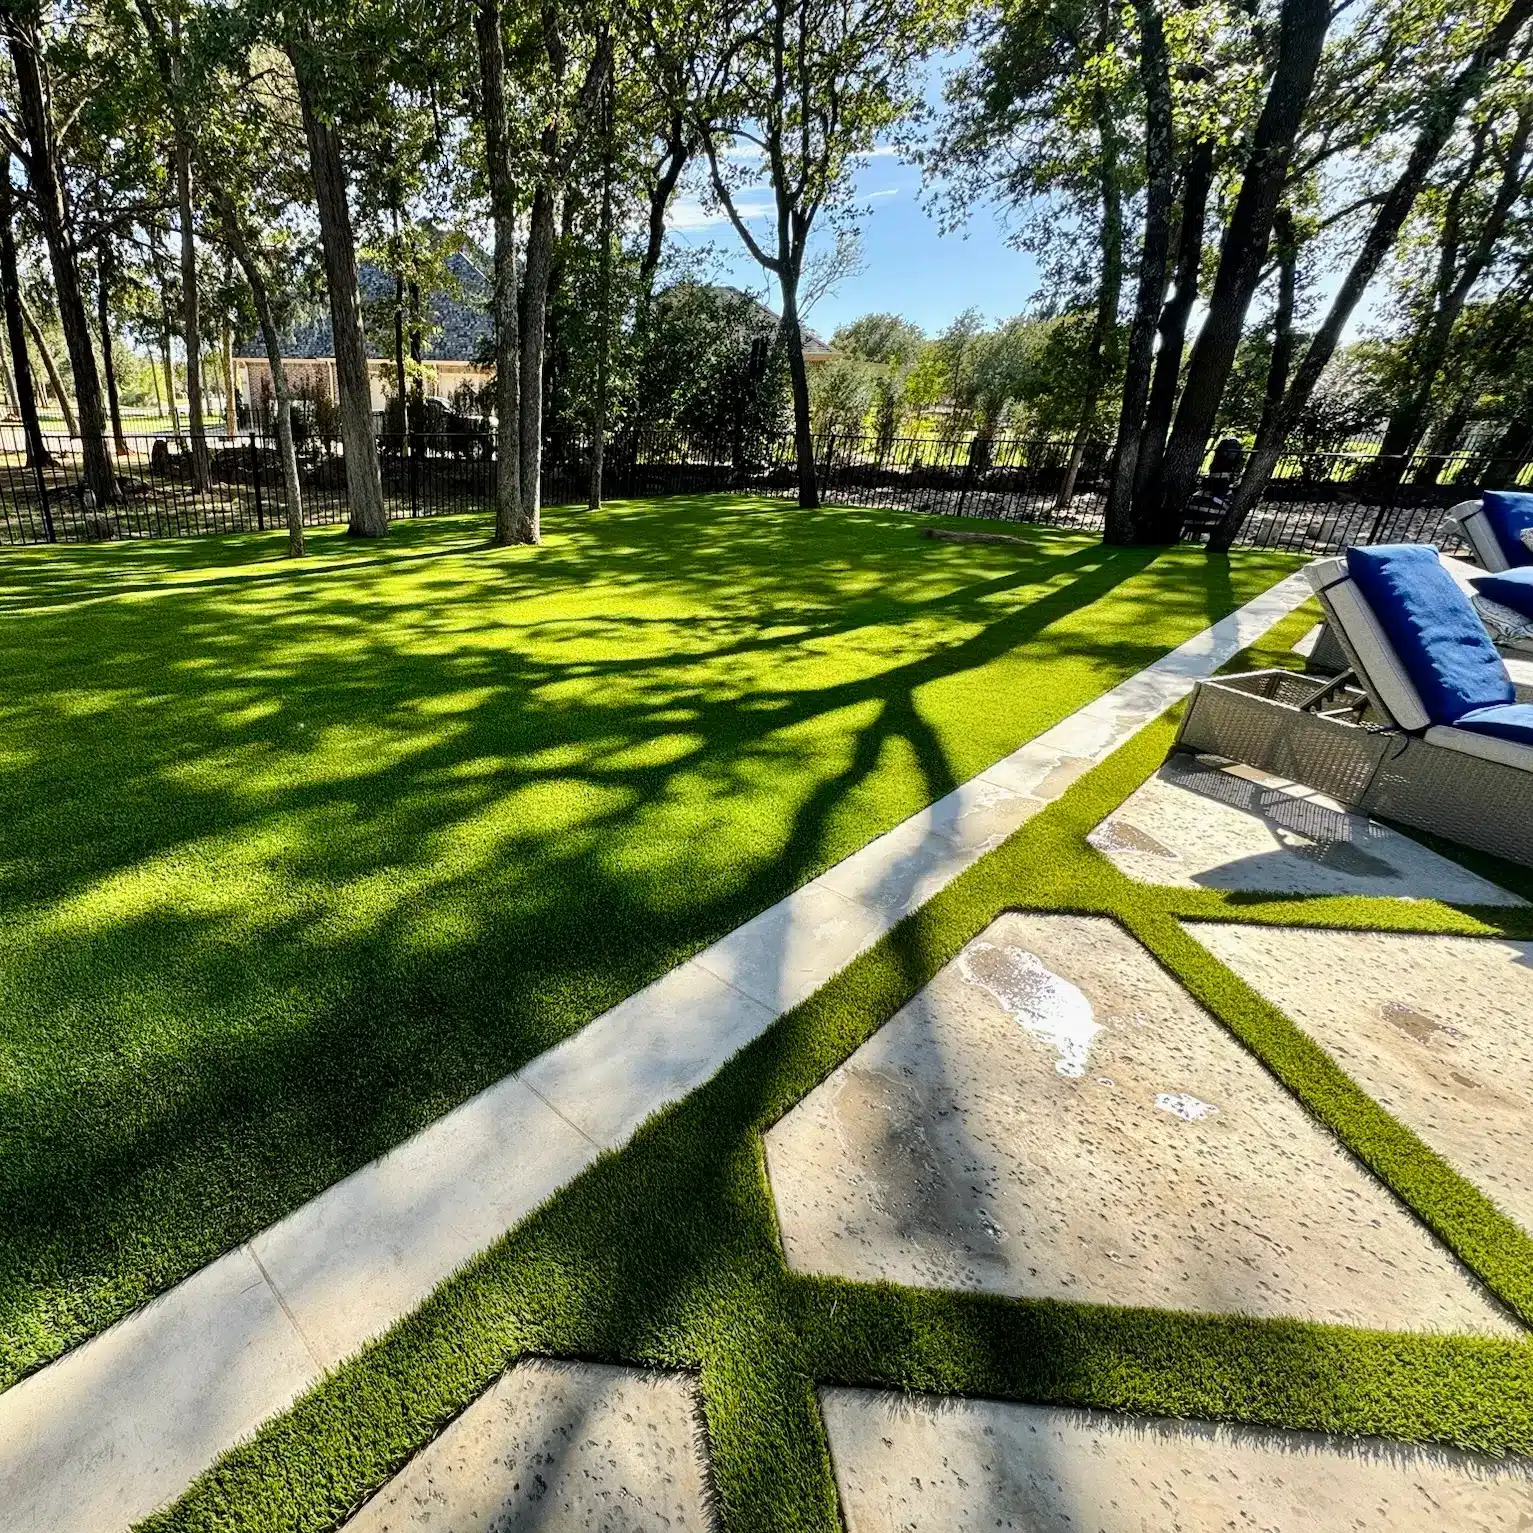
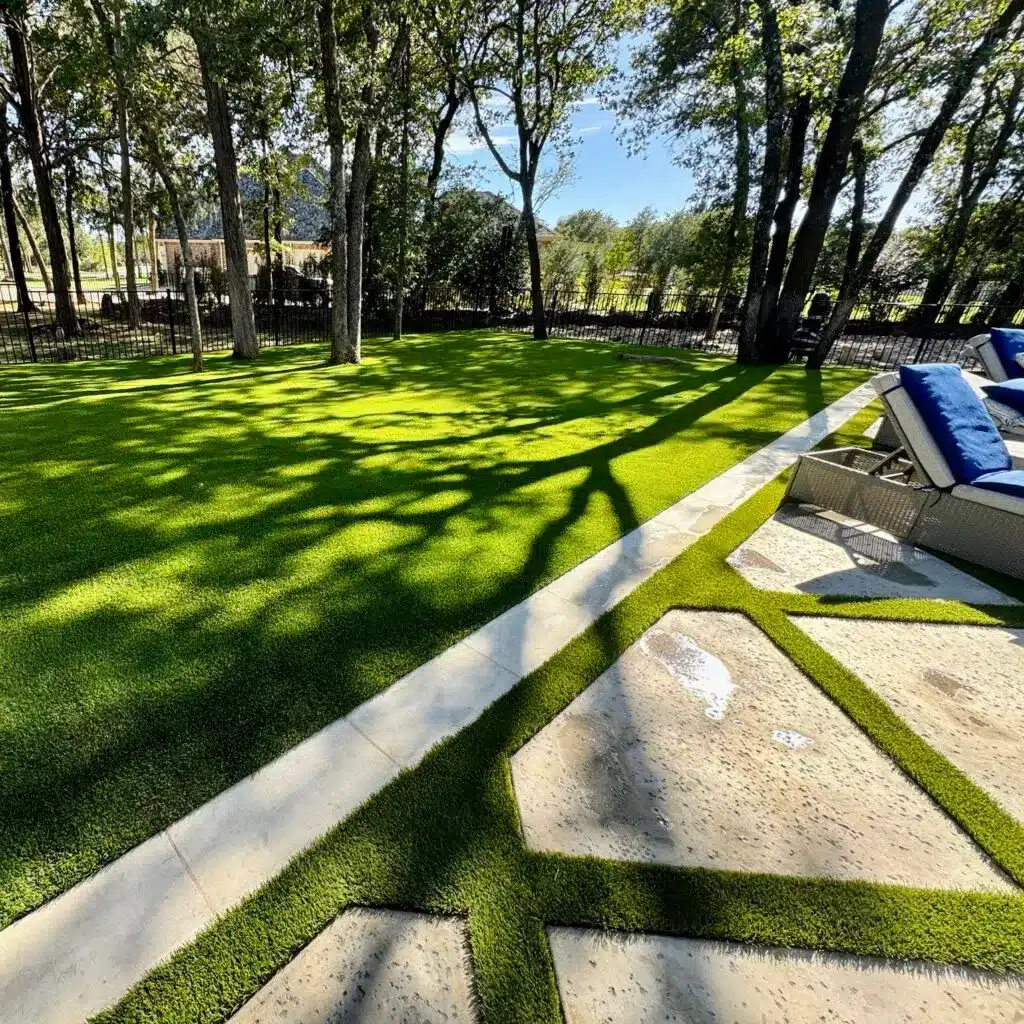
Artificial turf is also incredibly durable. It’s designed to withstand high-traffic areas, making it ideal for playgrounds, dog parks, and even sports fields. Whether it’s kids running around or pets playing, artificial grass stands up to wear and tear without developing unsightly patches. Furthermore, modern artificial turf products are made to look and feel like natural grass, giving you all the aesthetic benefits with none of the upkeep.
Tools and Materials You’ll Need
To ensure a smooth and durable installation, gather the following tools and materials:
- Commercial synthetic turf or commercial artificial turf
- Shovel
- Base material (such as crushed rock or decomposed granite)
- Weed barrier
- Carpet blades for cutting
- Glue and seaming tape (for seams)
- Rubber mallet or hammer
- Landscape staples, nails, or stakes
- Drop spreader for infill
- Broom
- Gloves and knee pads (for comfort while working)
Each tool plays an essential role in the turf installation, ensuring the longevity of your new surface.
Step 1: Preparing the Ground
Proper preparation is key to a successful turf installation. Start by clearing the area where you’ll be installing the turf. Remove any existing grass, weeds, rocks, or debris. Use a shovel to dig out at least 2-4 inches of topsoil.
This step is crucial, as leaving any organic material behind could cause uneven settling or weed growth in the future.
Next, level the ground. This step ensures that your level base is smooth and uniform, preventing any bumps or uneven surfaces in your finished lawn. Compact the area using a plate compactor, or if it’s a small area, a hand tamp will work as well.
After the area is leveled, install a weed barrier. This fabric helps prevent weed growth underneath the turf, ensuring a maintenance-free surface for years to come.
Step 2: Laying the Base Material
The base material provides drainage and stability for your turf. Spread crushed rock or decomposed granite evenly across the cleared area to a depth of 2-3 inches. Rake the material to ensure it’s distributed uniformly, then compact it using a plate compactor. This solid foundation helps to maintain the shape of your artificial lawn and allows water to drain properly, preventing puddles or soggy areas after rain.
Ensure that the base is level, but with a slight slope to promote drainage. A well-compacted, even base is essential for ensuring the longevity and appearance of your turf.
Step 3: Laying the Turf
Once your base is prepped and compacted, it’s time to lay the commercial synthetic turf. Roll out the turf and allow it to acclimate for a few hours. This will make it easier to handle and install.
Measure your space carefully, then cut the turf to fit using carpet blades or heavy-duty scissors. If you’re using multiple pieces of turf, make sure the blades of grass are all facing the same direction for a uniform look. This step is particularly important in high-traffic areas like sports fields or play areas where the appearance of the grass needs to be consistent.
Step 4: Securing the Turf
Once the turf is in place, it’s time to secure it. Start by gluing the seams where two pieces of turf meet. Apply the glue along the seam and use seaming tape to bond the pieces together. Let the glue set for 15-20 minutes.
Next, secure the perimeter of the turf by hammering landscape staples or nails into the edges, spacing them about 6 inches apart. This will prevent the turf from shifting over time. If you’re installing turf in a dog park or a playground, make sure to use enough staples to keep the edges secure under heavy use.
Step 5: Adding Infill
Infill is essential for keeping the blades of grass upright and adding weight to the turf, preventing it from shifting. There are different types of infill, such as sand or rubber granules, and your choice will depend on the specific application of your turf. For example, dog park turf may require antimicrobial infill to reduce odors.
Use a drop spreader to apply the infill evenly across the turf, aiming for around 1-2 pounds of infill per square foot. Once the infill is spread, use a broom or power brush to brush the turf, helping the infill settle between the blades of grass and fluffing them up for a natural look.
Step 6: Final Touches
After brushing the turf, walk over it to ensure it’s firm and evenly distributed. If any areas look uneven, you can add more infill or adjust the base material underneath. Once you’re satisfied, give the entire area a final brush to make sure the grass blades are standing upright.
Common Mistakes to Avoid
While installing artificial turf may seem simple, there are some common mistakes you should avoid. These include:
- Uneven base: Not properly leveling and compacting the base can lead to a bumpy surface.
- Ignoring blade direction: Always ensure the blades are aligned in the same direction for a uniform look.
- Skipping the weed barrier: Forgetting the weed barrier can lead to unwanted weeds growing through your turf later on.
Conclusion
By following this step-by-step guide, you can install your own commercial artificial turf with professional results. Whether it’s a sports field, dog park, or playground turf, the process is the same. With the right tools and some patience, you’ll enjoy a beautiful, durable, and low-maintenance artificial lawn that lasts for years to come.